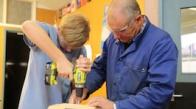
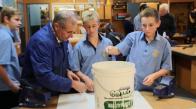
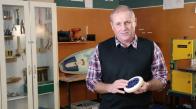
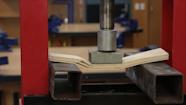
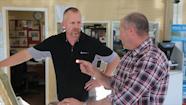
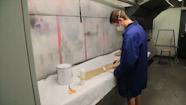
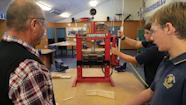
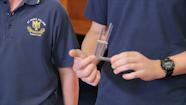
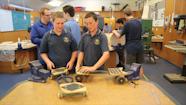
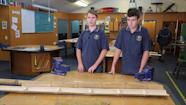
Steve Andrew and students talk about using their knowledge to test materials for their projects at year 12.
Evaluating materials for an outcome
Duration: 03:37
Transcript
Steve Andrew: They progress on with the knowledge that they’ve gained and the testing methods and the information that they’ve gathered from junior school in year 11 to be able to use that all individually on their own projects at year 12.
Student 1: I’ve got his existing product that I have chopped up because I wanted to find out what exactly was in an existing skim board – find out how it was made, the way the material inside was actually layered to give it the strength. And I just wanted to see exactly what it was made out of.
Student 2: The material issue that I’m going to address on this project is a material that is able to withstand the environmental conditions and any sort of wear and tear that will have an effect on this. I decided to make a model of my project first so that while I’m making this one, if I come across any issues, I’ll know that I need to fix that when it comes to making the actual project itself. The existing materials that I know that I can use for this come across certain problems when things such as corrosion and wear and tear from UV and things like that. So I’m going to have to come up with new ideas in order to manipulate that material into making it suitable for the conditions. In year 10 when we tested some materials in water, they corroded quite rapidly due to the material not being able to withstand it. I have some previous knowledge about materials that I can use, things such as steel that has been powder coated to prevent the corrosion and also UV damage.
Student 1: So what I’ve got here is a piece of Radiata pine plywood and then hessian sacking on the top. And what I tried to do was put it under compression with a resin on the top, polyester resin on the top of it. The reason I’ve chosen these materials to play with is because I know that Radiata pine is sustainable and it grows in about 12 years, and the hessian sacking will replace possible fibre glassing and still keep the same strength.
Student 3: Well the plywood is going to be used as the core of my project. And so what we’ve found out is that the Radiata pine plywood is quite heavy, and so what I’ve been trying to do is just get as much weight out of it as possible but while keeping the strength of the plywood. OK so what I’m trying to do here is test the strength and the weight of them. So we’ve just put these in like a zig-zag type shape just to keep a bit of strength in it, and so all the holes don’t line up so it won’t have weak points throughout the board. And another reason for doing this is for the gluing surface, cause the more gluing surface, the stronger the bond is going to be between the two pieces of wood. We’ve started off and we’ve weighed one that has no holes in it at all, and then as we’ve drilled the holes in them we’ve weighed them and we’ve seen a decrease in weight through all of them but this one is the lightest.
Steve: At this stage of the process they are all testing materials and processes that apply directly to their projects, and as you can see there’s all sorts of activities carrying on in the workshop. They are working from their own individual testing plans and they are coming up with answers that they will then apply to their artefact or their project that they make.
Related videos
Combining knowledge and practice (01:58)
Steve Andrew explains how understanding materials is essential for effective technological practice.
Linking hands-on experiences and understandings (03:54)
Hands-on experiences allow the students to see materials understandings in action.
Play, experiment, explore (02:55)
Steve Andrew lets the students see, feel, and play with products to develop their understandings in materials.
Finding materials to meet the specs (02:36)
Steve Andrew shares how students identify material specifications in a brief and then test materials to find those that are suitable....
School–industry relationship cuts both ways (03:36)
Steve Andrew and Terry Rillstone describe the way the relationship between St John's College and The Shop has benefits for them both....
Pushing the boundaries with materials (02:53)
Steve Andrew describes how his senior students have the confidence to select and work with unfamiliar materials.
Exploring unfamiliar materials (02:44)
Year 12 students from St John's College describe what they know about bamboo and how they are applying this knowledge to their projects....
Students and teachers talk about testing materials in year 11.
Manipulating, forming, and transforming
Students in year 10 describe manipulating, forming, and transforming materials.
Year 10 students describe some of the attributes for the snake skates they are developing.
Senior students select their own issues
Year 12 students talk about the issues that they have selected for their projects.

